Connecting to the System in Smart Rooms
Most of our classrooms have been upgraded to Crestron digital control systems. They will either have a touch panel control in the equipment rack or an installed wall remote. If you are experiencing problems, please call 389-6449, or e-mail AVTroubleshooting@coloradocollege.edu
Using Crestron Panels
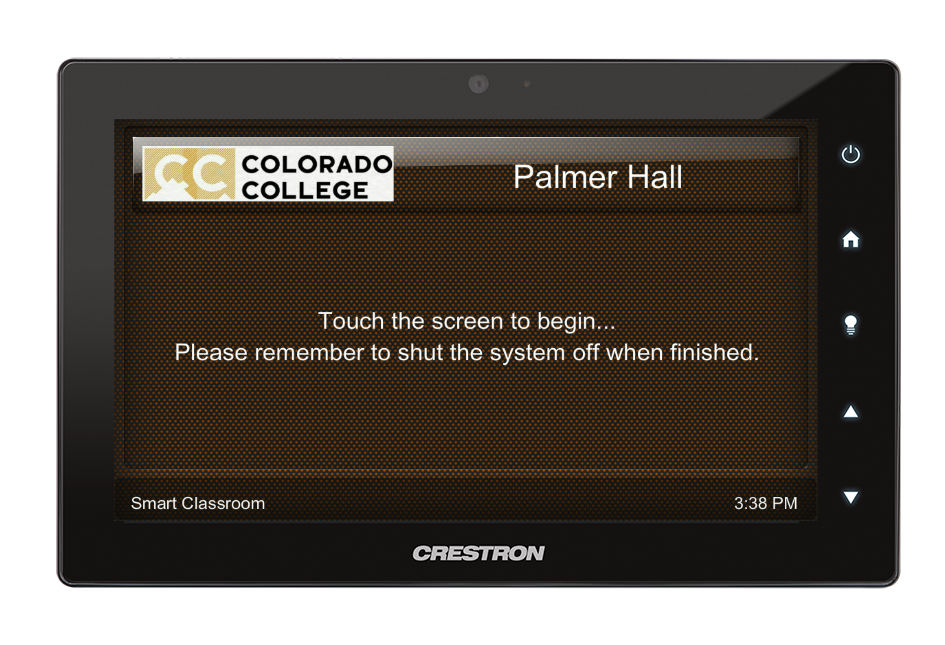
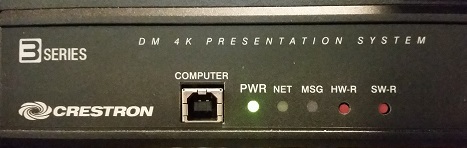
If the touch panel is unresponsive, missing the room number, or has an inaccurate time, try restarting the processor by using a pen or other narrow object to press the hardware reset button (HW-R) on the front. Please also be aware that a red blinking MSG light is normal and is not indicative of a problem. Note that the complete reset can take upwards of two minutes. Please call the Solutions Center at 389-6449 or email AVTroubleshooting@coloradocollege.edu if the panel is still unresponsive.
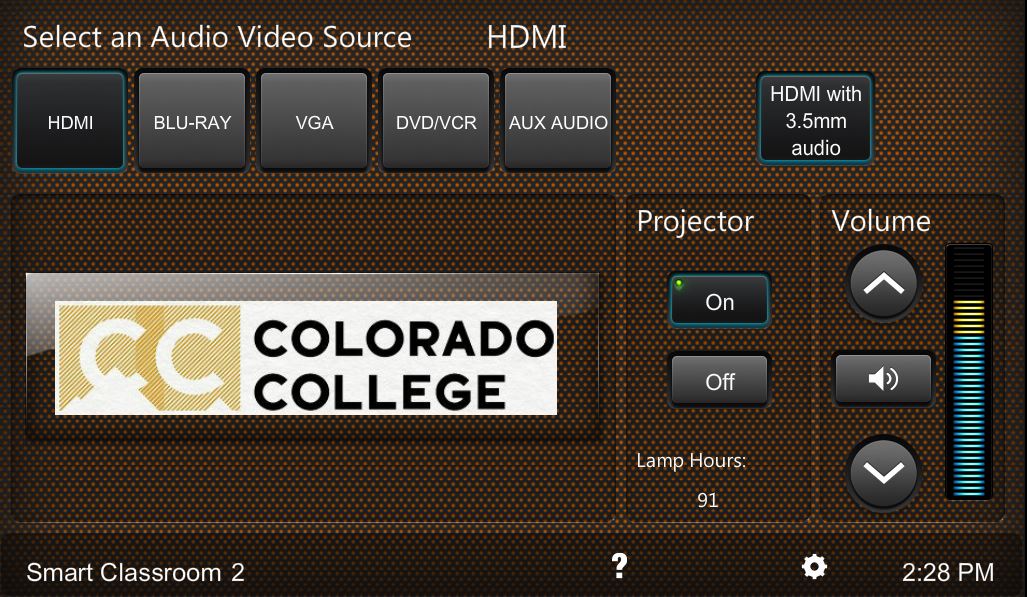
You can play audio without turning on the projector by pressing the AUX AUDIO button and connecting your device via the 3.5mm headphone connection at the rack.
For rooms that have an Apple TV or Air Media, look on the display screen (TV or projection) for connection information.
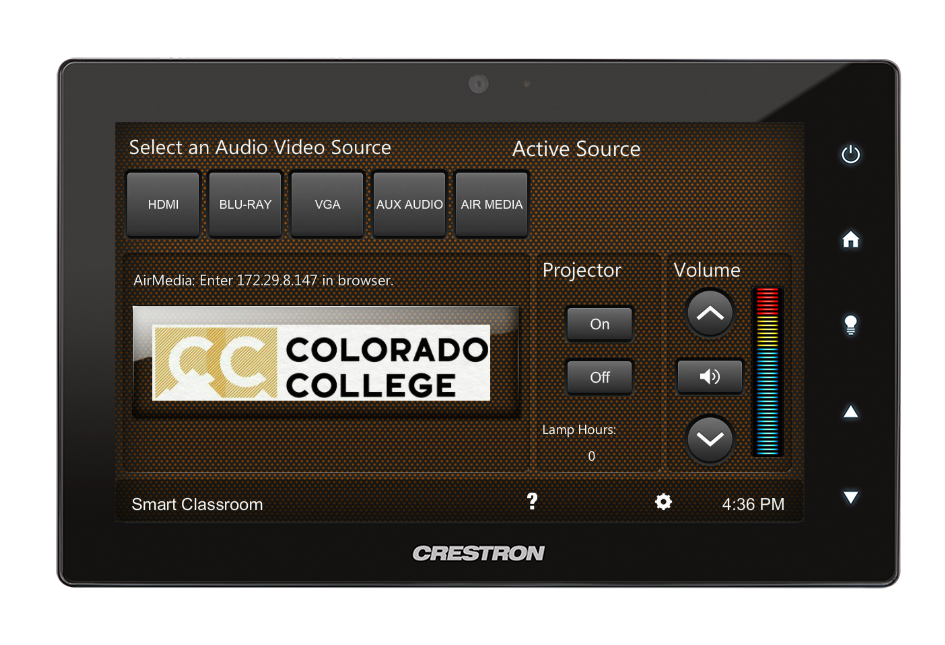
All smart classrooms will have HDMI or VGA connections (both in most cases), and are also equipped with Thunderbolt to HDMI and USB-C to HDMI adapters. To connect your computer, be sure you have selected the appropriate input (HDMI or VGA) on the control panel. If you do not see your image displayed, check that all connections are tight, try re-seating the cables and any adapters. It takes a few moments to establish a connection, so please be patient. If using a PC, press Windows-P and ensure that you are not set to display "PC Screen Only". If these steps fail to correct the problem, please call the Solutions Center at 389-6449.
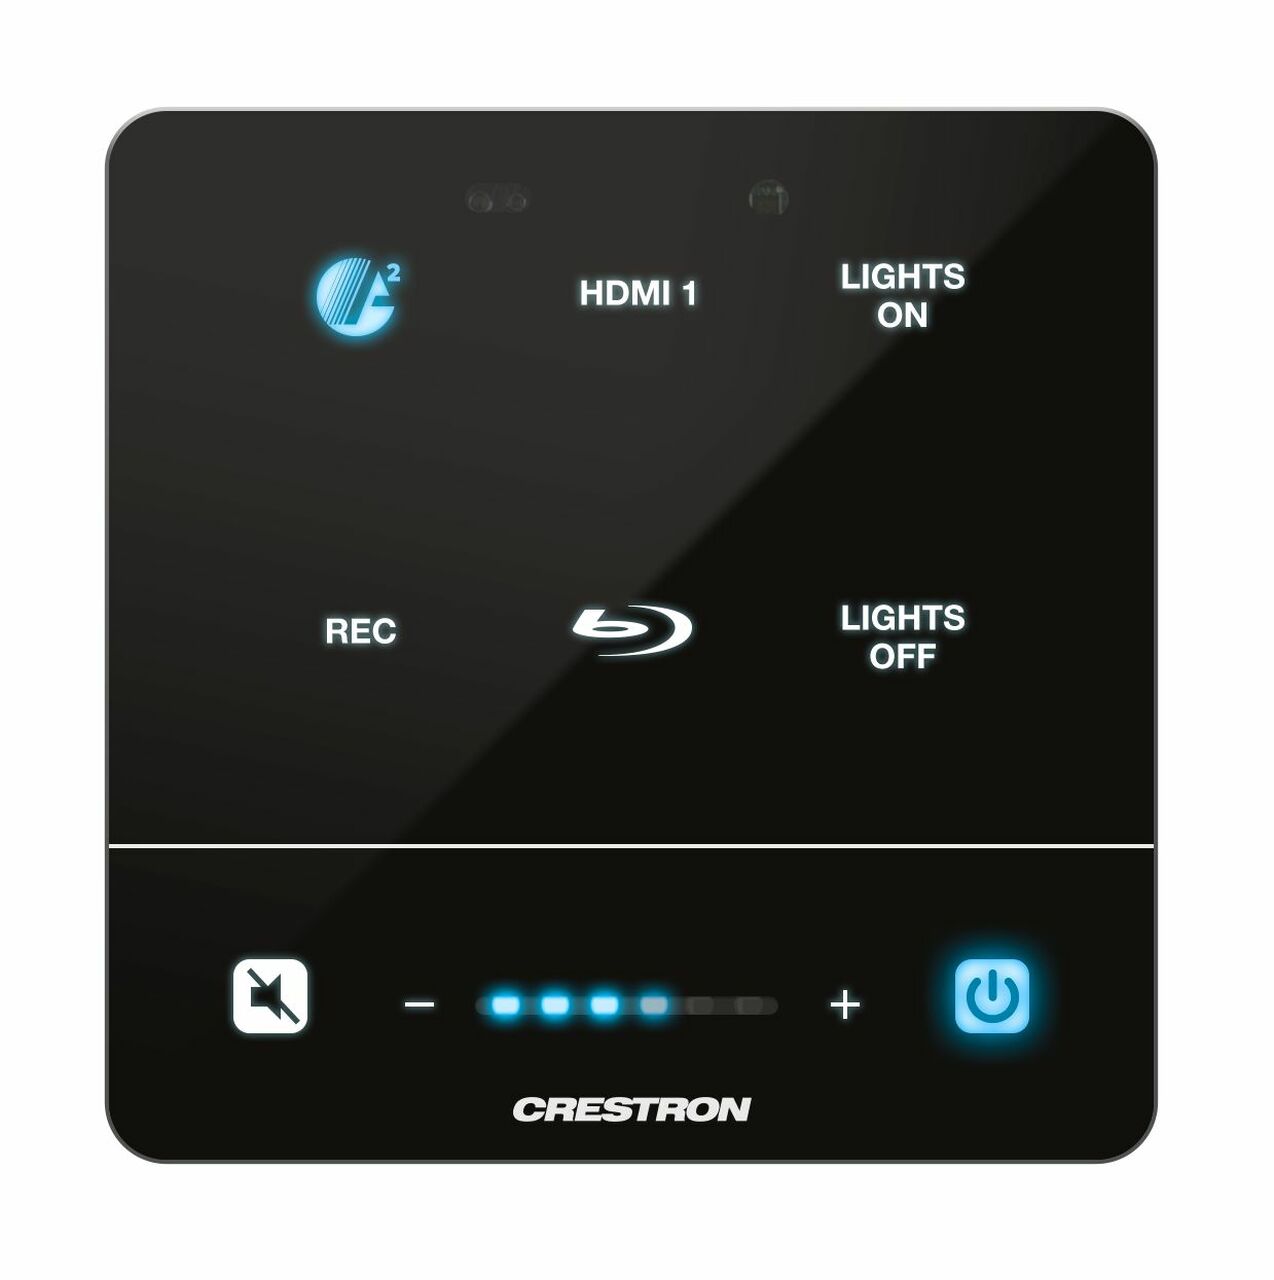
The wall remote will turn on and off the TV or projector, adjust volume, and select the input source according to your needs. Rooms with a wall remote that have built-in video equipment (Blu-Ray, VHS, etc.) will still have remote controls for the players, but the TV or projector will not have a separate remote.
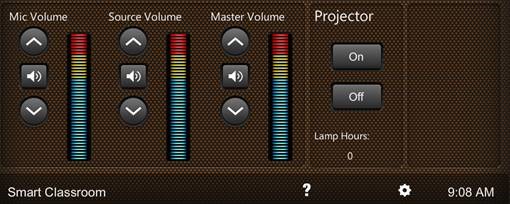 If you have requested a microphone for the block, you'll have the option of using a lavalier mic (clip on) or handheld. The mics share the same frequency, so you can only use one at a time- be sure that only the mic you use is switched on. On the touch panel you'll see volume controls for mic, source, and master. You can adjust the mic and source (Blu-Ray, HDMI, etc.) levels independently- master raises the output of everything. Proximity to the mic is also important, especially if you are masked. When using the lavalier, you'll likely want to clip it to the front of your mask as the standard method of clipping it to your collar won't be sufficient to amplify your voice. The handheld mic needs to be held close to your mouth, in a direct line (known as on axis). If you are too far from the mic, or not speaking directly into it, you won't get the added volume you need.
AirMedia is a cross-platform wireless communication protocol, allowing Mac and PC computers to wirelessly connect to the room display. When selecting AirMedia on the control device, an IP address and login code will be displayed on the lower left of the display. If you do not have the AirMedia client installed, enter the IP address in your browser-you will be prompted to download the appropriate version for the device you are using. Enter the IP address and code into the client to display your presentation.
Note: Wi-fi must be connected to Eduroam.
Normally, when connecting your computer via HDMI, audio will automatically be routed to the system. In the event it is not, however, follow the steps outlined below.
Connecting PC audio
Click the speaker icon, audio routing will be indicated. It should reflect your connected HDMI destination, i.e. Crestron, projector or TV model number, etc. If it shows the built-in speakers (Speakers/Headphones), click the arrow to expand the menu, and select the proper routing.
Connecting Mac audio
Open system preferences or settings and select Sound. Choose the output tab and select the HDMI destination. Note that with a Mac, once connected to HDMI you no longer have volume control on the computer, and must adjust at the rack, TV, etc.
Troubleshooting
If you are not getting audio, the first step is to reboot your computer- this will frequently solve the problem. Double check your audio settings to be sure you are outputting to the external device.
If audio still doesn't pass through the HDMI cable but your computer has a 3.5mm headphone jack, you can circumvent the problem in most of our classrooms. Using an audio cable, connect your headphone output to the 3.5mm jack at the rack, and select the headphone output under your computer settings. There is an audio cable that runs along with the VGA cable that's in the drawer.
We recommend attaching the VGA connection at the rack to add support and not stress the audio connection with the weight of the cable. On the touch panel, select the HDMI with 3.5mm audio button. It will be highlighted blue when selected, the system will receive video via HDMI, and audio through the 3.5mm cable. To return to audio and video over HDMI, press the button again to deselect, and adjust your computer settings accordingly.
If your video playback (on a Mac) has scrambled, erratic audio and video, 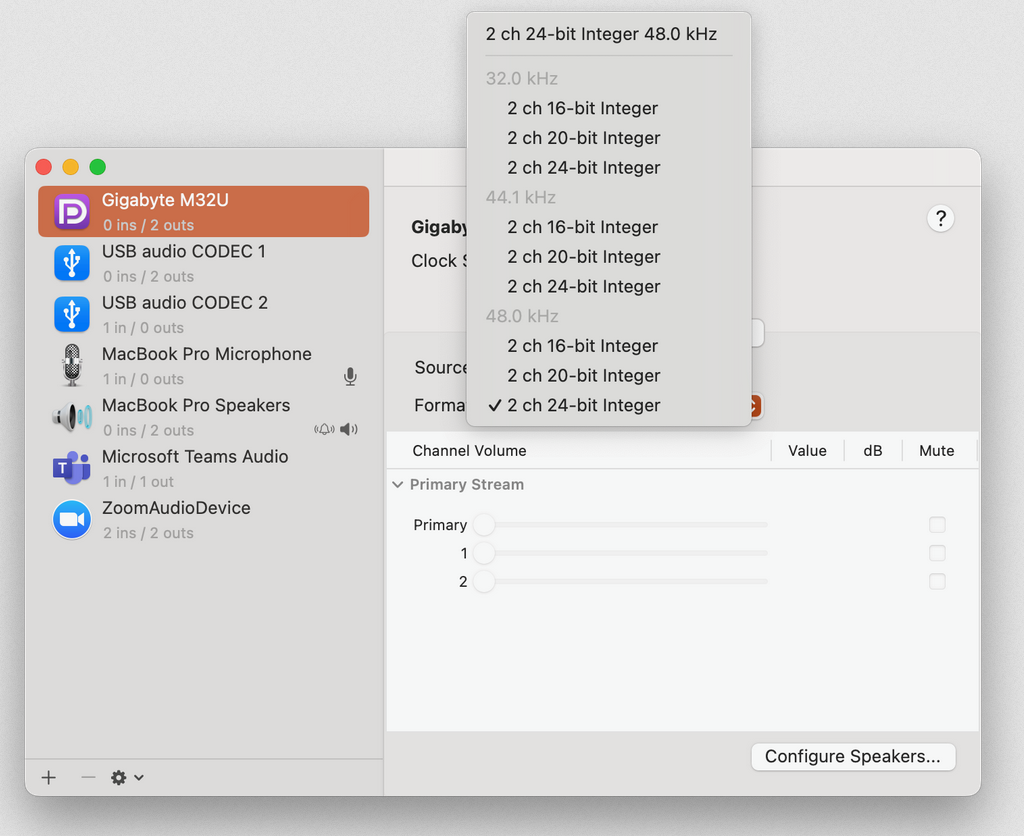 and rebooting did not solve the problem, use Spotlight to search the terms Audio MIDI Setup. It's possible the audio format is set too high for the system to communicate properly, particularly when there are multiple avenues (adapters and cables) in between your computer and the audio destination. Try the 44.1kHz setting, which is the audio standard used by CDs. If this fails to solve the problem, try the step listed above for utilizing the headphone jack.
show all / hide all