Canvas Discussions
Though Colorado College has a rich face-to-face culture, there may be times when you would like students to use online discussions, either to continue conversations begun in the classroom, to begin conversations that you'll continue in the classroom, or as another, less formal means of providing feedback to one another on their work.
Create a Discussion in Canvas
Click the "Discussions" tab in the menu to the left of the course page and click the blue "+ Discussion" button. A new page will open with the rich content editor. Provide a topic title and, in the box below the title, a description of the discussion and/or the discussion prompt itself. Note that you can certainly include links to files for students to read and discuss or embed multimedia-a YouTube video or a video or audio clip that you create, either in Canvas or one that you create elsewhere and upload from your hard drive-to serve as the basis for the discussion.
Below the text box, there are discussion options from which you can choose:

- "Allow threaded replies" will allow the responses to student posts (rather than to the original prompt) to thread, or indent-it creates "threads" within the discussion.
- "Users must post before seeing replies" requires students to reply to your original prompt before seeing their fellow students' responses.
- "Enable podcast feed" will allow students to subscribe to the discussion through a third-party podcast tool.
- "Graded" will allow you to make the discussion gradable using the online grading tool in Canvas. If you select this option, a new set of options will appear prompting you to choose the number of points possible, how you'd like to display the grade, and, if you've created assignment groups, a list of groups to which you can assign the discussion.
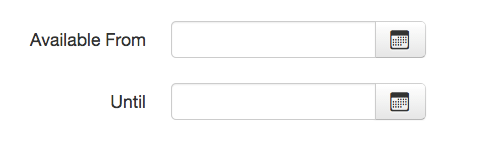
Finally, you can choose to make the discussion available only during a specific range of dates so that students cannot post before or after a certain time frame.
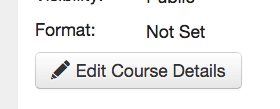
If you would like to allow students to attach documents to their discussion posts, you'll need to make one further selection in the course settings. Click the Settings button in the course menu. From the first tab that opens, "Course Details," scroll down and choose "Edit Course Details."
When the page reloads, scroll to the bottom again and click "more options."
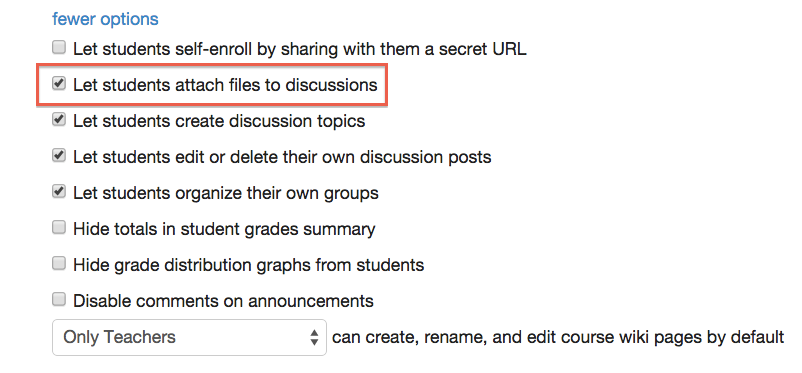
A new set of options will appear below. Check the box next to the second option, "Let students attach files to discussions."
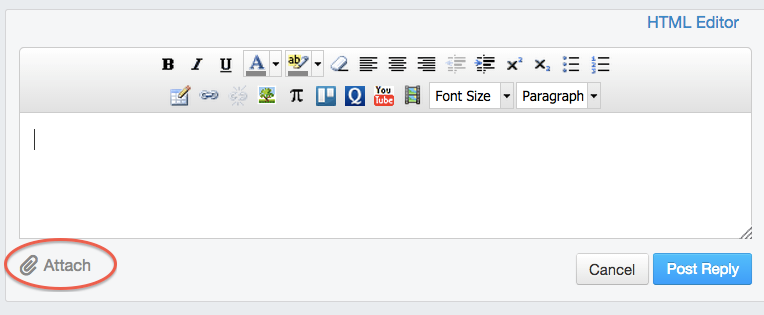
Click the blue "Update Course Details" button. Now, when students click the "Reply" button in a discussion, the option to attach a file will appear below the text box.